Exciting! Sal's School of Biz now has its own little spot on the blog so you beautiful businessy folk can take time out each Tuesday to get inspired and learn a little something to help you with marketing, promoting, branding, blogging, productivity and motivation in your business.
Today I wanted to share some tips on how to take fabulous photos of your products and creations that you will be proud to share on your social media. Say you're a cake decorator – hours upon hours of painstakingly getting that icing colour mix just right to match the hue of the colour swatch your bride has provided, and taking that icing to make individual petals for your intricately constructed sugar flowers is so worth showing off. And showing off right!
////
When you're putting out amazing work each and every week for weddings across the Sunshine Coast, what better way to show off what you can do to your potential clients than to share it in real time on your Facebook page, Instagram, Google +, oh and all the other social media platforms we all have!
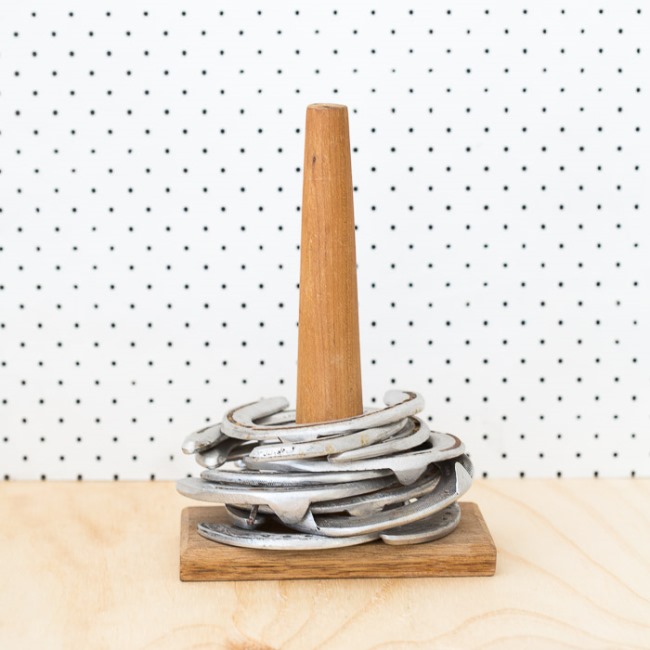
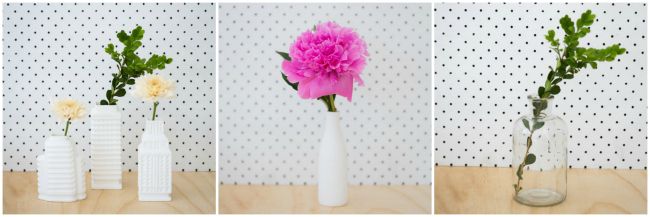
The last thing you would want is for your amazingness to be lost in translation due to bad lighting or blurry images. So here are some tips to help you snap a fabulous photo every time. I had the assistance of Emma Nayler Photographer for these tips, and some examples of product images she has taken for Wholehearted Studio.

SET UP A BACKGROUND AND LIGHTING
If you have a studio or work from home, dedicate a little area to your photo taking. Picking the spot is the first important part. Emma suggests choosing a spot directly opposite the largest window available. At home, often this is in your kitchen. You want the light evenly distributed and facing your product, not behind, which will make your creation dark in the photo and you will lose all the detail.
For your background, a white/light plain wall is best. If you happen to have a dark or patterned wall, try setting up a temporary background that is easy to put up and down. This can be as simple as a white piece of cardboard blu-tacked to the wall.
Alternatively, you might like to take your product outside and place it in full shade. This would work really well for a beautiful bouquet.
Say you are not taking the photo until you arrive at the venue to deliver your product. Let's take the wedding cake example again. You want to get a shot of the cake in its environment, maybe once the florist's fresh flowers are set atop. In this case, still try to follow the lighting procedures – assess the lighting. You want to make sure the light is behind you, not the cake. Next, look through your lens – what do you see behind and around the cake? If someone is walking by, wait till they are gone. If the venue is mid-way through setting up and there is a crate of crockery in the shot, ask if they mind if you move it for a few minutes. An unobscured background will give you a more professional, clean result.
If you have a small product, like jewellery or accessories, you may like to invest in a lightbox. These can be found online fairly inexpensively on Etsy or Ebay.
CHOOSE YOUR PHOTO-TAKING TIME RIGHT
During the day is your best bet for ensuring your photos turn out well. Using a flash can exaggerate your highlights and lowlights, excentuating the contrast to a point where your detail is difficult to recover. Not what you want when you have put in so much effort in the little things! The same goes for full sun – avoid it at all costs, as it will lead to harsh light in places and shadows in others that will be distracting.
Outside in the shade during the day is perfect more or less any time. If you are working with your background set up inside, start trialling and figure out what is the best time of day where there is some nice, natural, even light coming in – not streaming in at sunset.

YOUR TOOLS
It is perfectly acceptable to use a smart phone to take your pics. If you are simply using these images to share your handiwork on social media, then this is a great idea. Camera phones take really great quality images these days, and there are a stack of great apps available for editing. One Emma suggests is Afterlight, which allows you to edit your images with full control over brightness, contrast etc. It also has a bunch of frame options – some in fun shapes, and there is one for when you have taken a rectangle image you want to share in full on Instagram, which only allows square images. You can share direct to your social media from this app.
If you're wanting to submit your images to blogs, or use for your own marketing purposes, you might want to get a little more serious about it. This doesn't mean you have to start toting a $20K camera around with you! There are a lot of great SLR cameras that are simple to use and varnish a fabulous result without costing you an arm and a leg and requiring you to train to become a pro. Emma suggests a Canon 1100D, which you can currently buy from JB Hi Fi with a lens kit for $449. A great investment if you're serious about getting your products seen.
Images shot by Emma Nayler Photographer, edited by Wholehearted Studio for an exciting project coming in 2014 for Wholehearted Studio. Watch this space!


